User Tools

Site Tools


Sidebar

zactrack manual

[[smart:start]] \\

System Overview
Safety Standards
Hardware Overview
Software Overview
Network
UWB Radiotracking


PREPARATIONS


ZACTRACK SETUP


Hardware


zactrack 3 APP


Autofunctions APP


[[manual:Tracking Server]]\\

zactrack site notice: Homepage

manual:mount_smart

MOUNT

  • Mount the 8 anchors around the stage. The positions of the anchors should be as asymmetrical as possible, for good resolution in 3D 4 anchors should be up and 4 down.

  • Connect the zactrack CORE (Server ETHERNET PORT1) to a network switch

  • Connect the anchors with a CAT6 cable to a PoE switch within the zacNET
    Note:
    LED on anchor illuminates blue → anchor has power and is connected to tracking server
    LED on anchor red → anchor has power but no connection to tracking server

    Max. length of CAT6 with PoE is 100m. It is possible to extend the range with fiber optic cables


  • Connect the zactrack CORE (Server ETHERNET PORT2) to the lighting network switch

3D Anchor Setup

All anchors should be mounted around stage on different heights. To get accurate Z-axes positions it is necessary to mount the anchors on multiple Z-levels. Below you will find 2 examples for a 3D anchor setup.

For a 3D position the system picks at least 4 anchors.

Note: You can change the tracking type from 2D to 3D direct on each tracker on the lightconsole

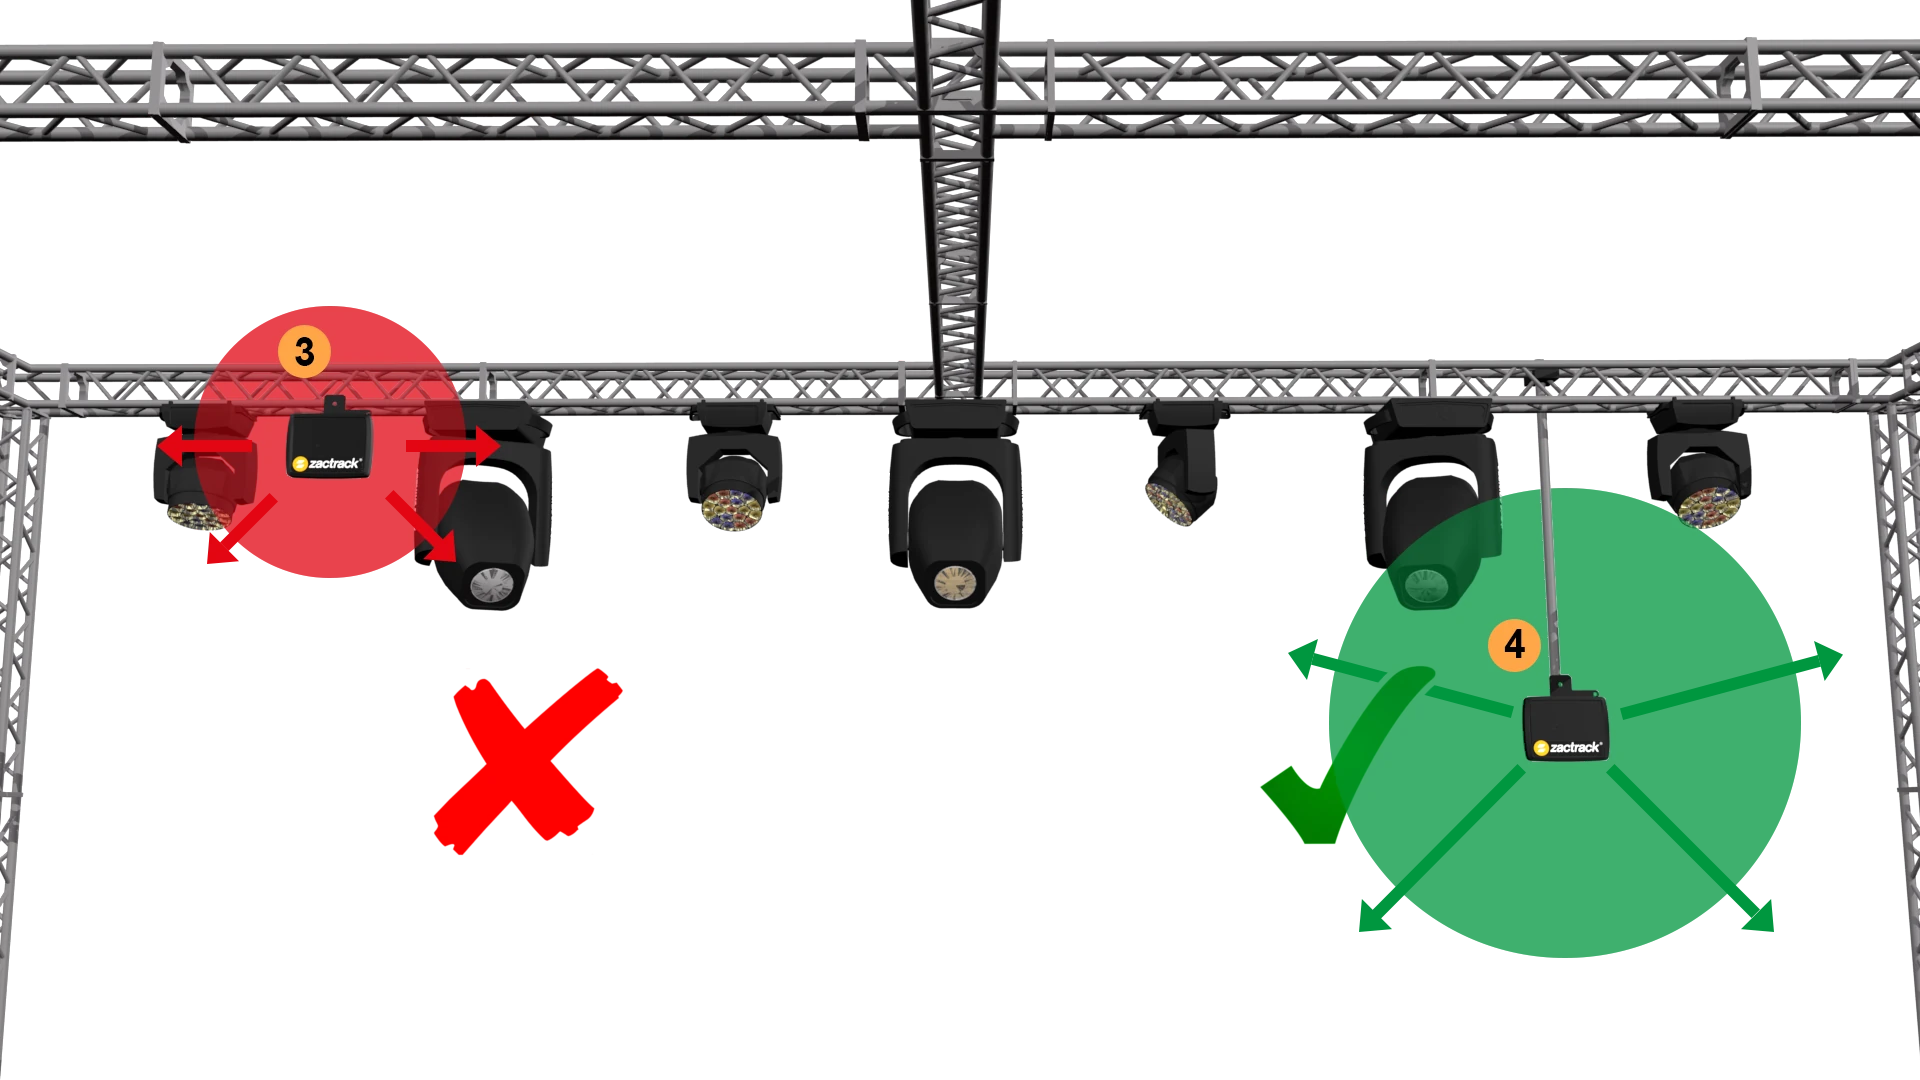
Note: Do not place an anchor directly next to a fixture

2D Anchor Setup

All anchors should be mounted around stage. For 2D anchor setup it is NOT necessary to mount the anchors on multiple Z-levels. Below you will find 2 examples for a 2D anchor setup.

For a 2D position the system picks at least 3 anchors.

manual/mount_smart.txt · Last modified: 2022/11/08 15:32 by zvonek