Track
It's time to track! Depending on the previously made settings, zactrack can be controlled directly from the App / Web monitor or from the console.
App Control
On the app, switch to the tab.
As an example, both Fixtures shall follow Actor no. 5. To change the assignment for both Fixtures at once, switch to the tab on the right side and tap on in the list below. This will open the Live Settings dialog.
Disable the checkbox in the section and select Actor 05 from the dropdown.
Select for the at the bottom of the dialog.
Take out Tracker no. 5 from the Charging Bay.
Observe that Actor 05 has gone online with its position being displayed on the visualizer.
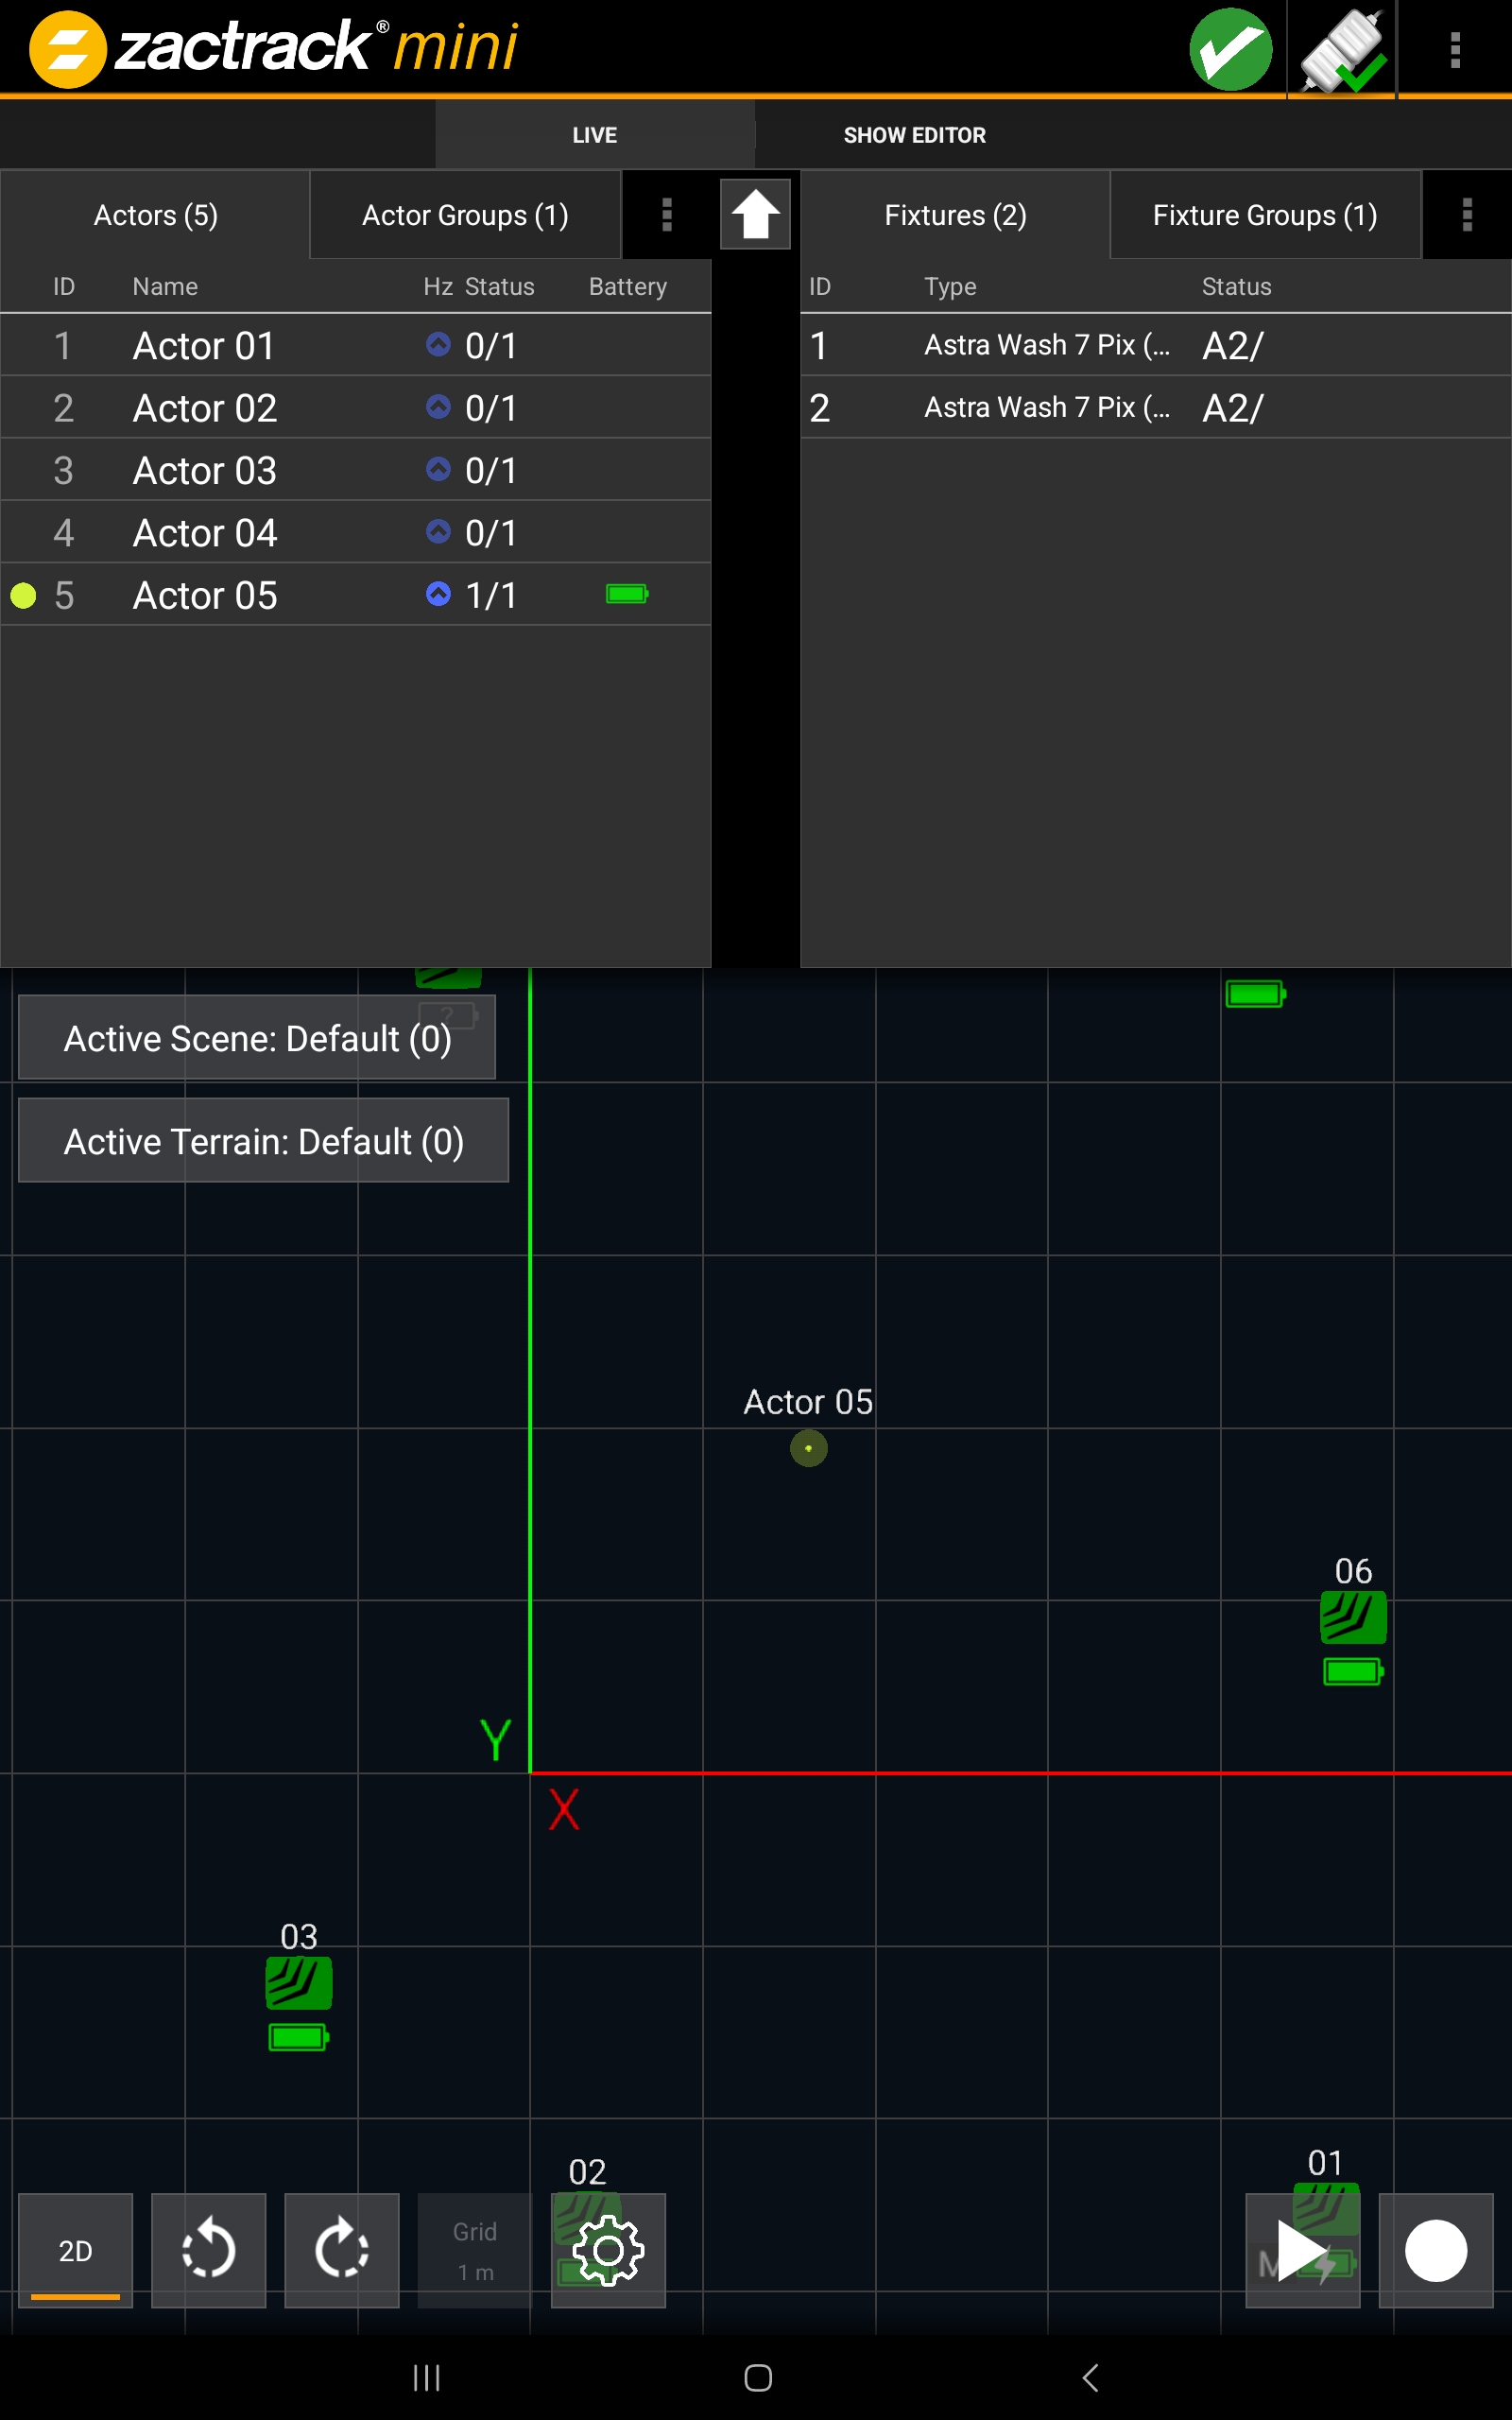
Both Fixtures will track Actor 05 using the highlight channel settings.
Position and movement dynamics of the Actor can also be adjusted in realtime. Tap on the name in the Actors list. This will open the Live Settings dialog for this Actor.
Adjust the settings as desired. Note that the checkbox needs to be disabled before performing any change.

Console Control
Prerequisite for console control is that all zactrack elements (Actors, Fixtures, Show) are set to console control.
In the tab, tap the
 icon next to and tap . This will enable the live controls for all Actors to listen to console input.
Perform the same step for Fixtures via the
icon next to .
The zactrack core is now set to be controlled from the console. On the grandMA3, all zactrack-related functions of a Fixture are located in the zactrack feature group tab in the programmer section.
 |