Alignment
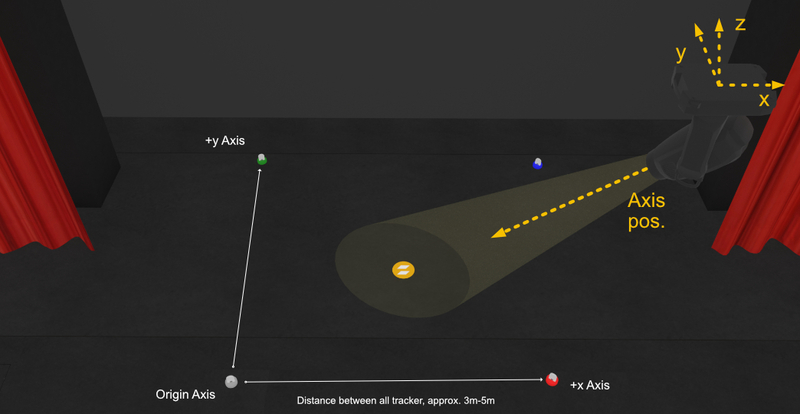
All fixtures you want to use as automated follow spots have to be accurately aligned into the defined coordinate system. zactrack computes the exact position and especially rotation of all fixtures regarding the defined origin with the alignment process. Note: No need of any 3D model! zactrack has an alignment wizard, which makes it easy to align fixtures.
Tip
It is possible to skip this section if you don`t need Lighting in your application!
 |
Note
Before it is possible to align a Fixture, it is necessary to have control of the Fixture.
Steps to setup Fixture control in the zactrack APP
Add Universes
Add Fixture Type
Patch Fixtures
The Alignment Wizard is a tool to guide through all the necessary steps to align a Fixture. Aligning means to define a light Fixture in the 3D space.
Tap Fixtures In the zactrack App
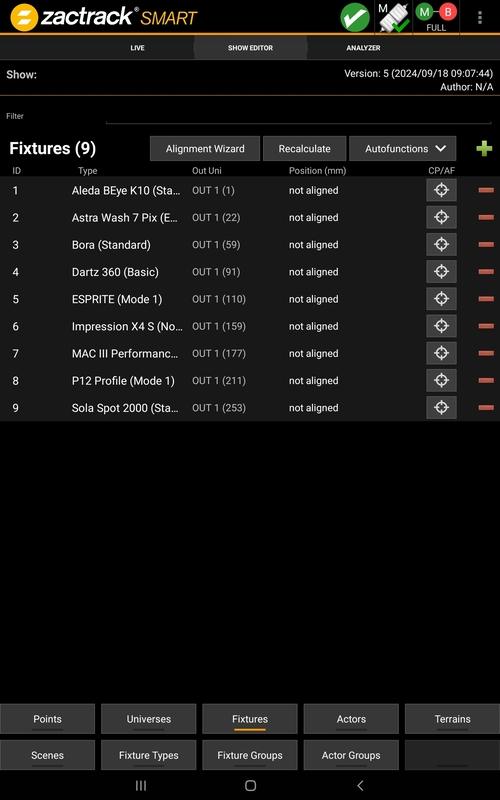
Tap Alignment Wizard

The Wizard opens in a new window
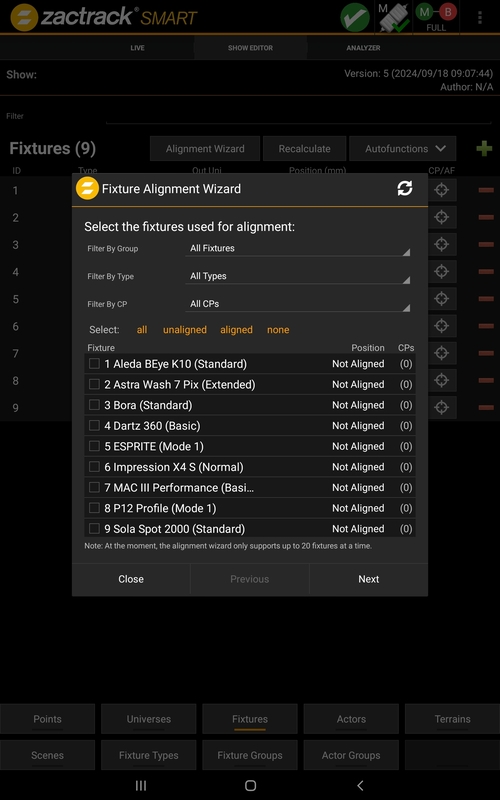
Select the Fixtures you want to align
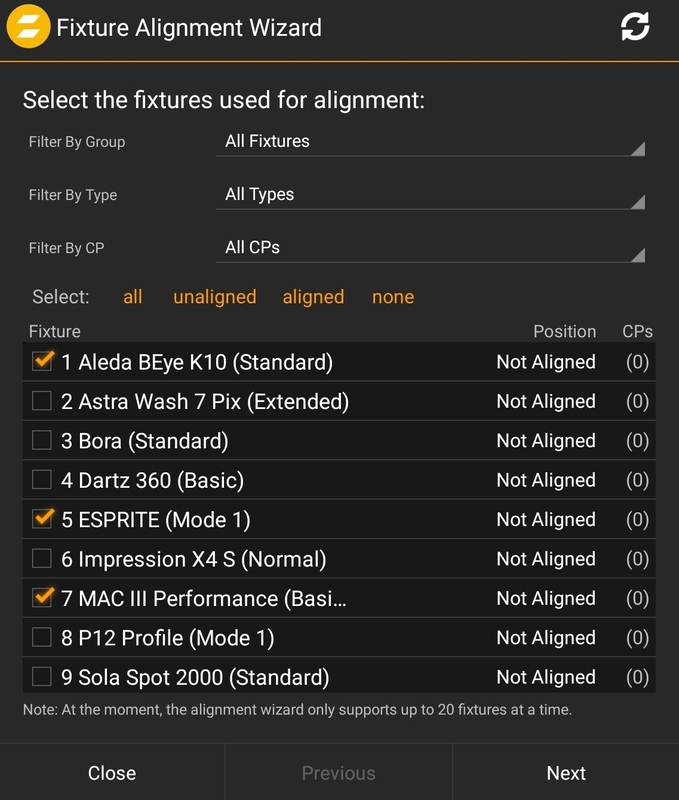
Press next
In the next window it is possible to set some special settings
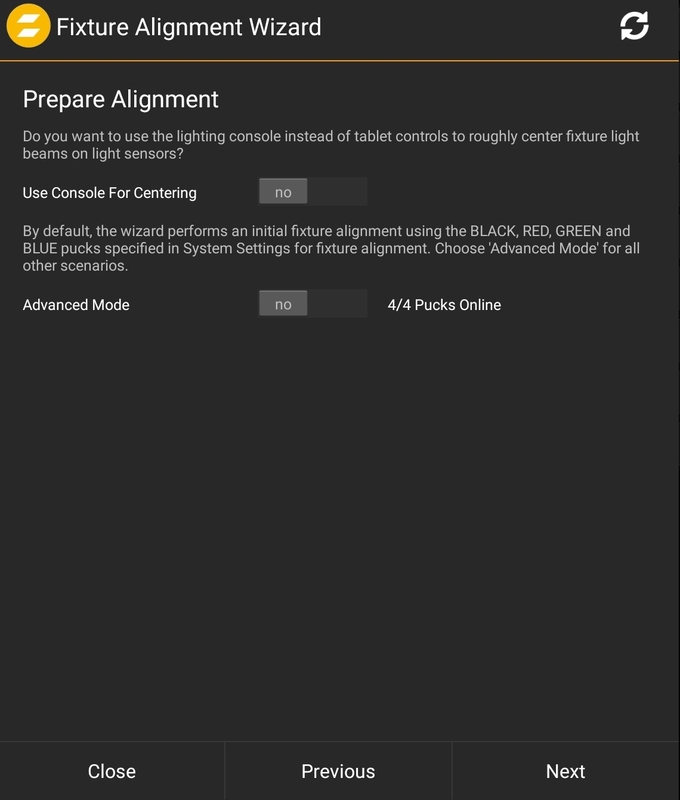
Use Console For Centering
The fixture can be controlled manually to aim at a puck via the tablet in the next step. With the Checkbox Console For Centering you can use the lighting console.
Note
To use the console for centering, a DMX Input with the right universe is necessary. See Universes for more information.
Advanced Mode
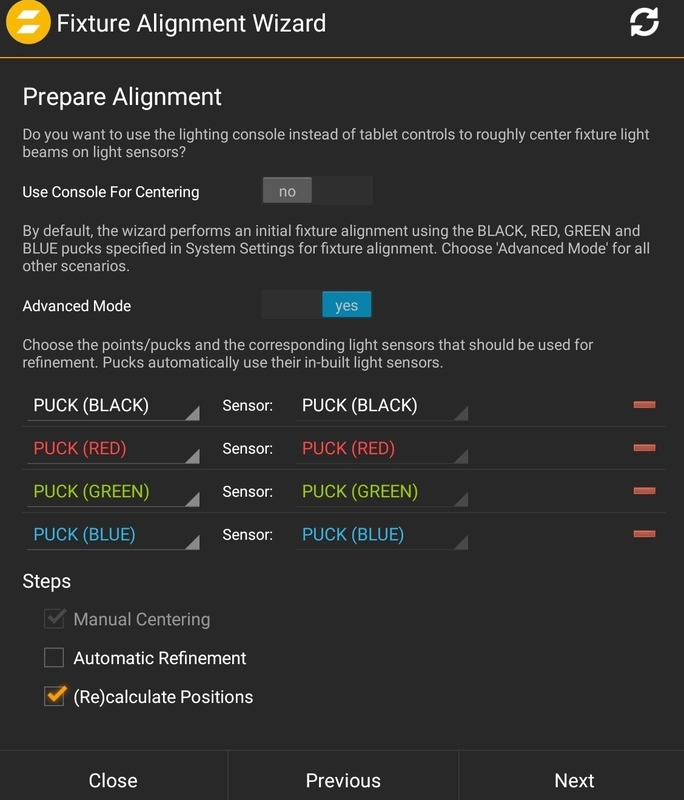
In Advanced Mode it is possible to change the default Pucks.
The Wizard will explain how to center the light over the different pucks in the next steps.
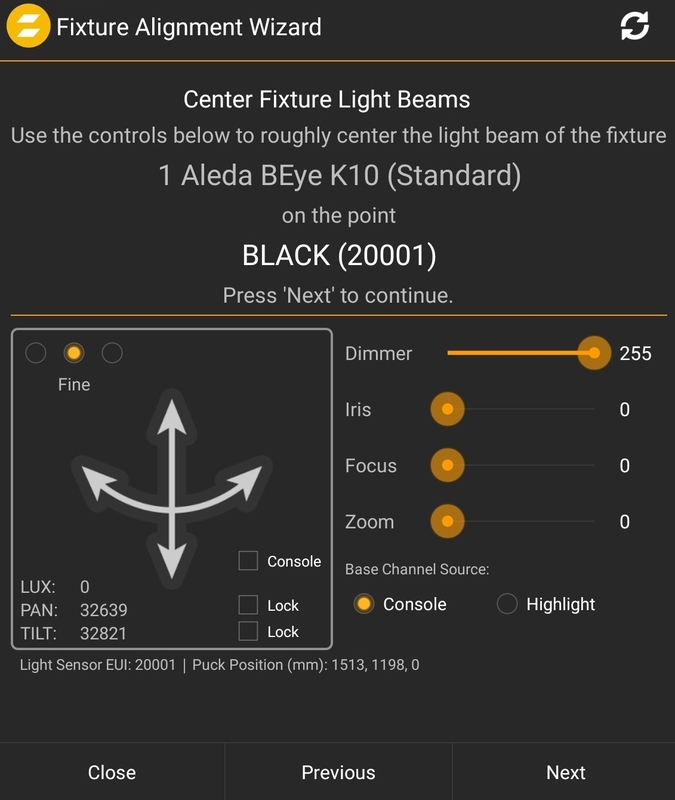
Center the light over the black puck. To arrange the light output there are sliders and a base channel selection. With the three different settings in the left corner of the touch area, it is possible to adjust the sensitivity of the touch area.
Depending on the fixture selection this window repeats with the other fixtures.
After the position of the black puck, the red, green and blue will follow.
After the manual light adjustment, the system will perform an automatic fixture refinement.
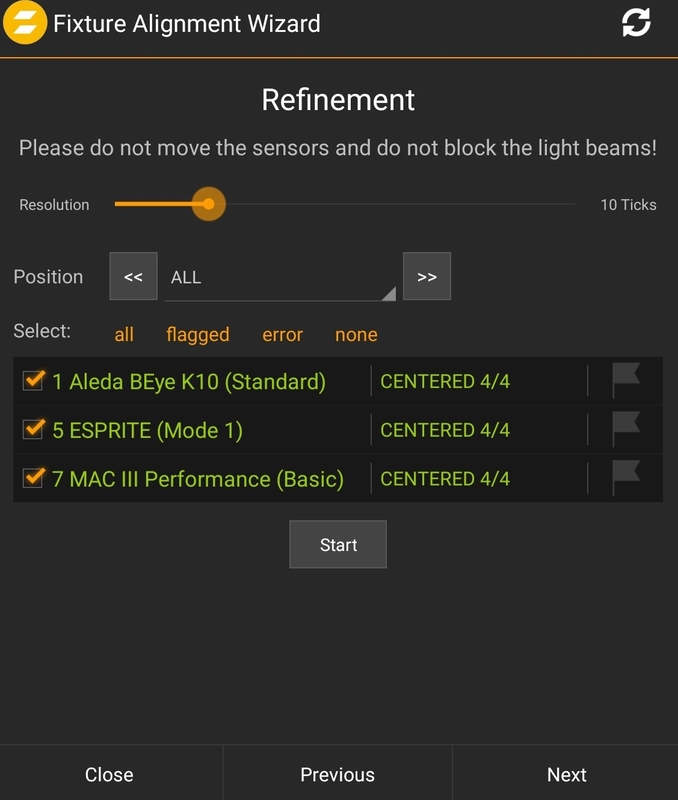
The Refinement takes one fixture and moves it over the puck to find the edges of the beam automatically. This process is repeated automatically by the system with all fixtures on all 4 puck positions.
The Last Step off the wizard is the position calculation
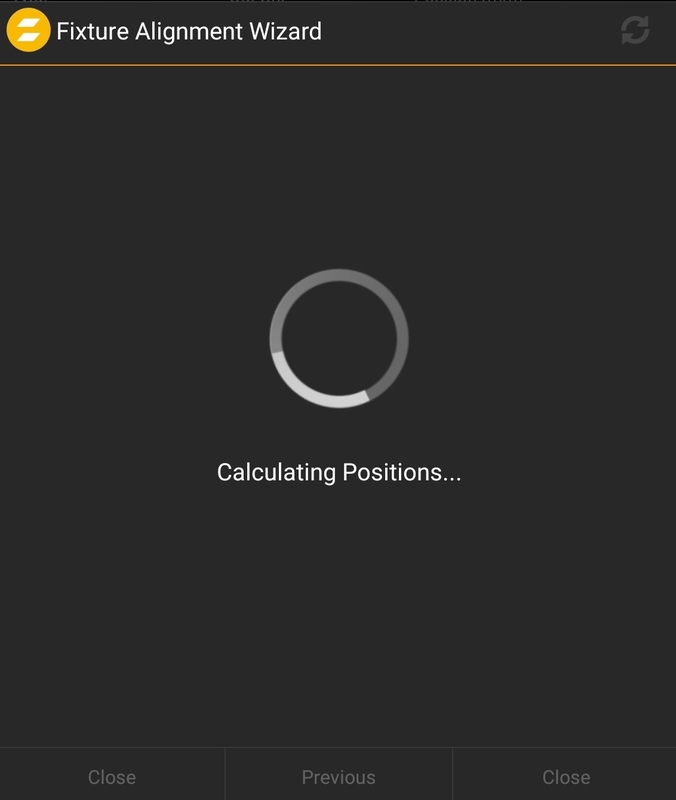
The System will now automatically calculate the fixture position in all dimensions. Depending on how many fixtures are selected it will take some time.
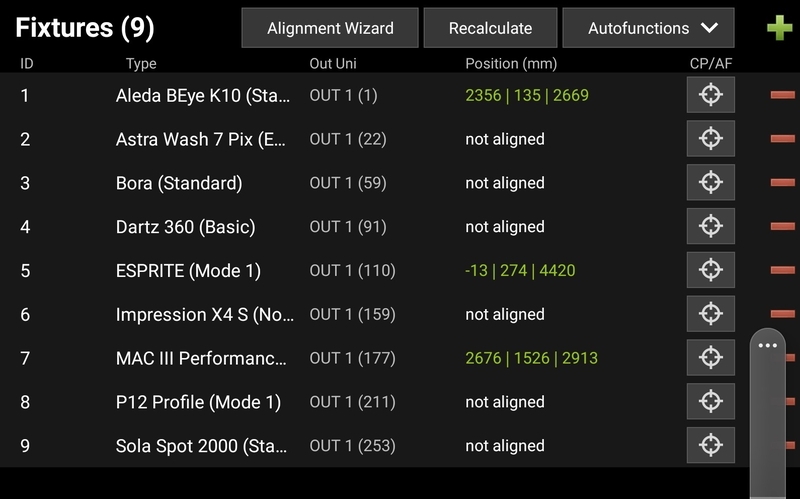
After the ending of the calculating the system gives information about the quality of the Fixture position
Tip
Check if the position value is in a possible range every time.
The color of the position will indicate the quality
Green result
This is the best case, the green value indicates that the system has a good solution for the fixture position.
Yellow result
In this case the system can calculate an "OK" position. It may not be as accurate as a green result, but for example, in the case of a washlight, it is a way to operate it. Double check the 4 measuring points (Pucks) and the refinement. Also check the physical range of the moving Head and the Pan and Tilt Range values.
Red result
In the last case the system found only a really bad position. Check the same points as described in the yellow result. See Alignment Error for more information.
Warning
Don't use a bad Alignment for tracking!
Instead of using the alignment wizard, it is also possible to manually align a Fixture.
See Fixtures for more information.