Terrains
When tracking in 2D mode, the height or Z-position of the tracker is controlled by an offset. Terrains will dynamically adjust the offset based on the tracker's current XY position.
 |
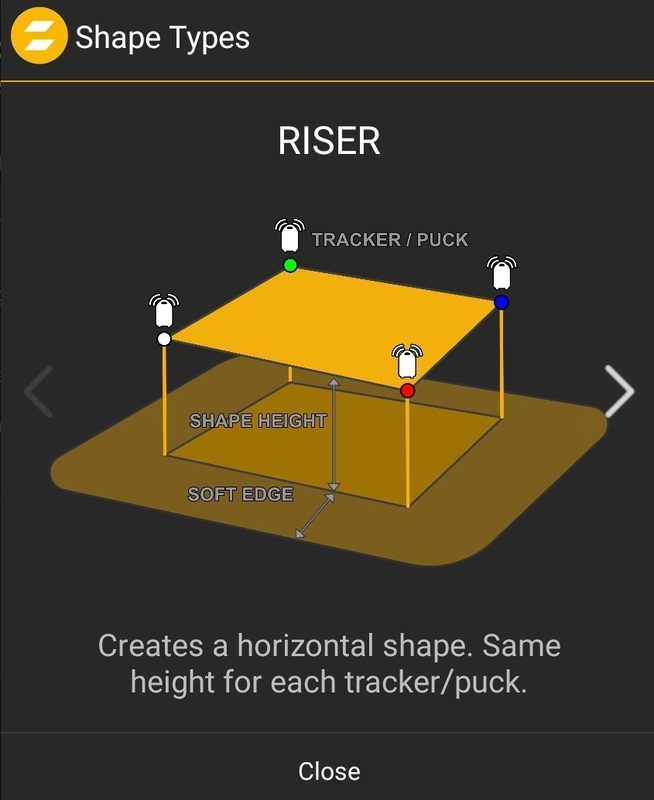
A Terrain consists of several virtual shapes: Riser, Ramp, or Custom representing the levels of the physical stage. A show file can have up to 256 Terrains which can all be selected individually in zactrack or triggered from a console. When an actor’s XY position is in a Terrain its Z position is mapped to the height of the Terrain.
This will only effect actors in Force 2D. Actors in 3D tracking will not be affected even when a Terrain is active.
The typical workflow when using Terrains is as follows
Add Actors and a calibrated Fixture to your show
Create a Terrain
Modify your Terrain
Force Trackers to 2D (SMART / PRO only)
Select Active Terrain
The Terrain Wizard helps through the complete process of creating a Terrain. Click on the Terrain Wizard Icon.
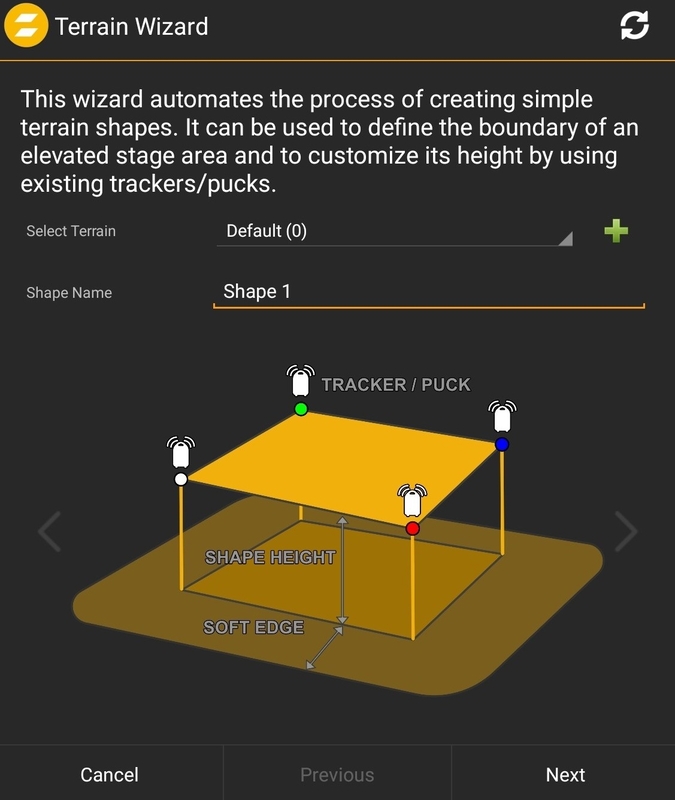 |
It is possible to add the Terrain to the default or create a new one. Terrains can be selected in the live view or with the Show Control DMX Channel. A Terrain can contain different shapes.
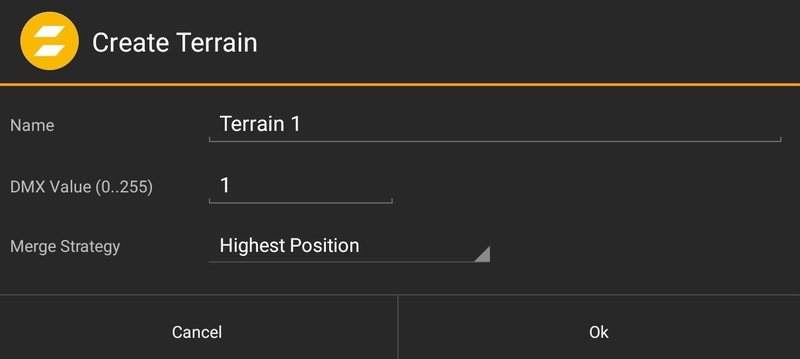 |
When creating a new Terrain, it is possible to add a name and a custom DMX ID.
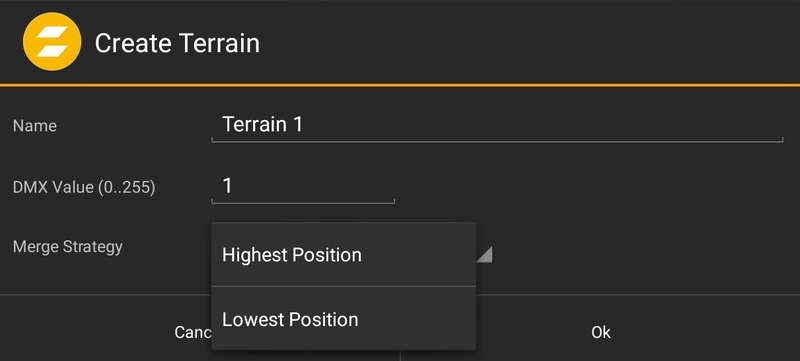 |
The merge strategy is for more overlapping shapes. It is possible to use either the highest or the lowest Position.
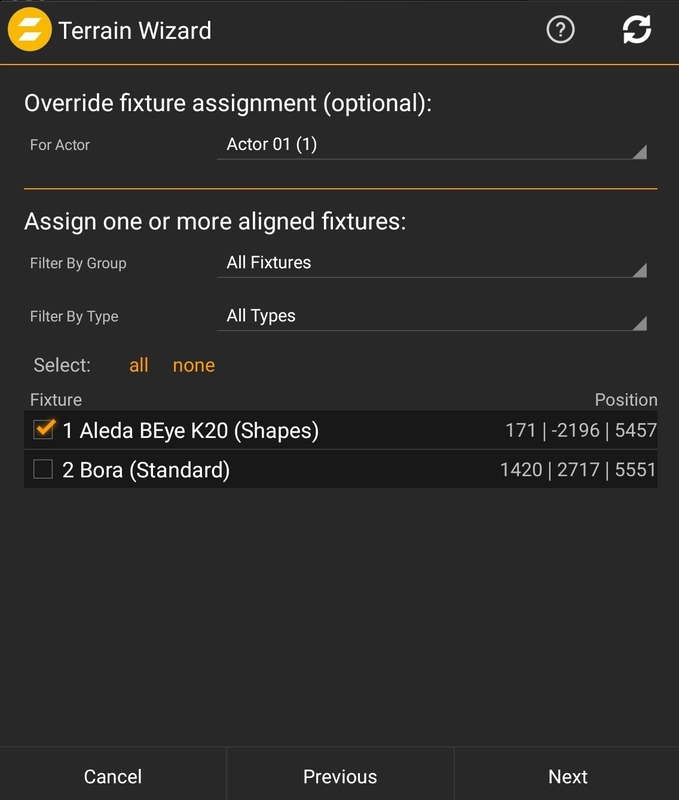 |
In the next window an optional Fixture Override can be set. This will allow to see the terrain behaviour live.
Choose an actor to temporarily override the actor assignment for the selected fixtures, Actor settings (height offset, smart Beam) can be adjusted in the last wizard step. Additionally, the following settings will be temporarily applied for every selected fixture: Merge-Mode: Auto6 Base Channel Values: Highlight.
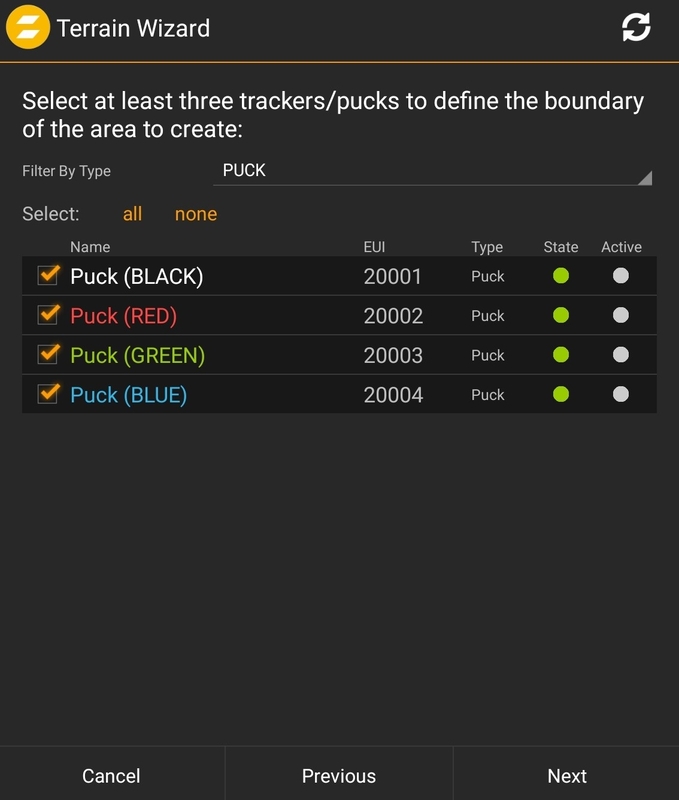 |
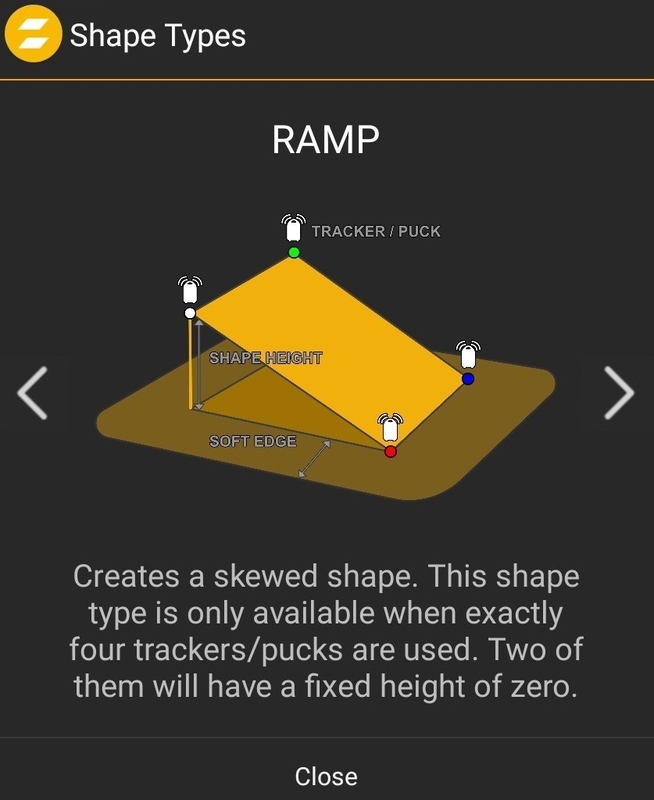
In the next window, select the 4 Pucks or Trackers to mark the edges of the shape.
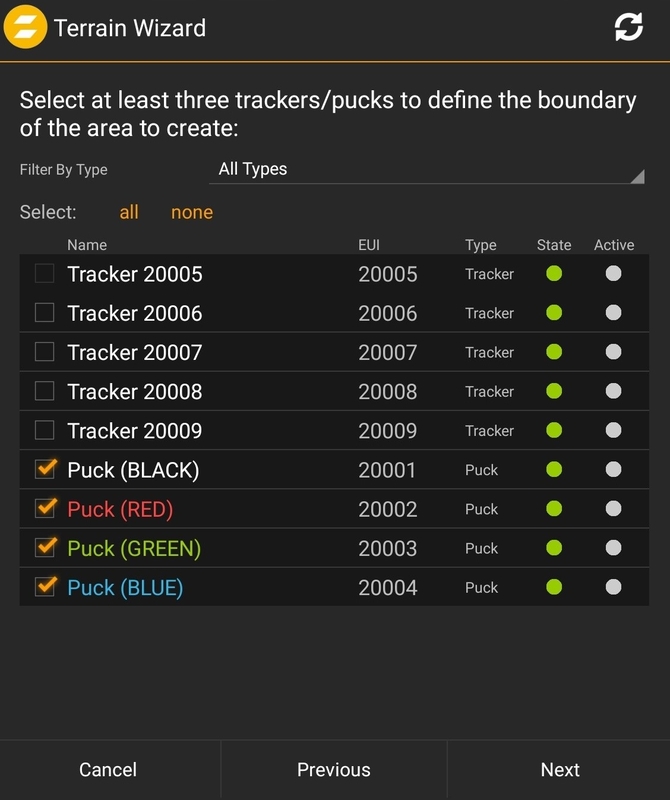 |
Change the filter to see all possible Trackers.
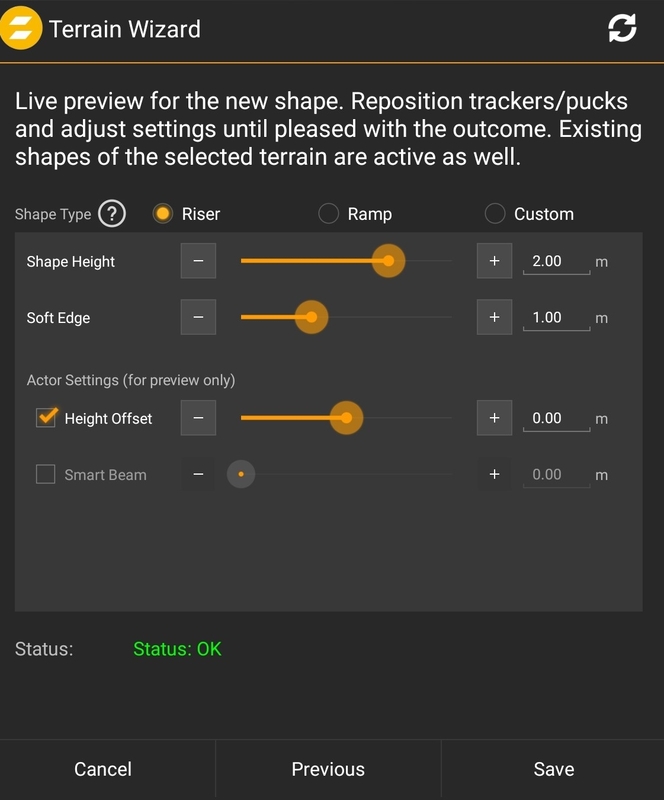 |
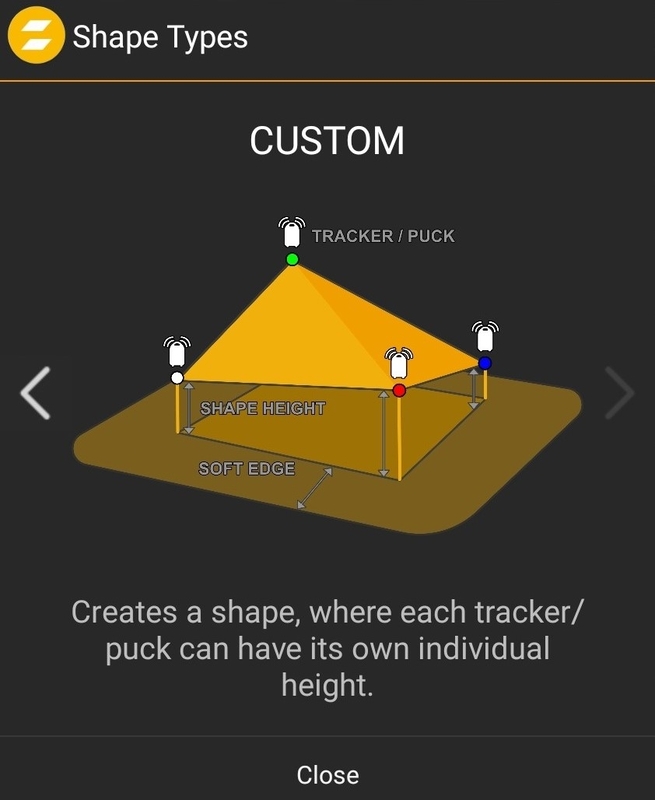
In the last window the Shape Type and the Shape Settings can be adjusted. Pressing save will create the shape in the selected Terrain.
 |
 |
 |
Note
It is possible to add more different shapes in one Terrain.
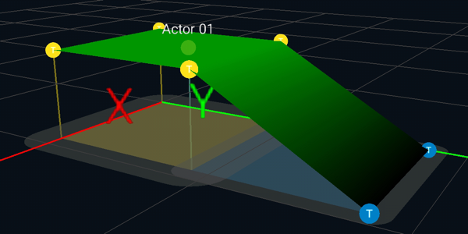 |
The terrain in the image is a Riser plus a Ramp
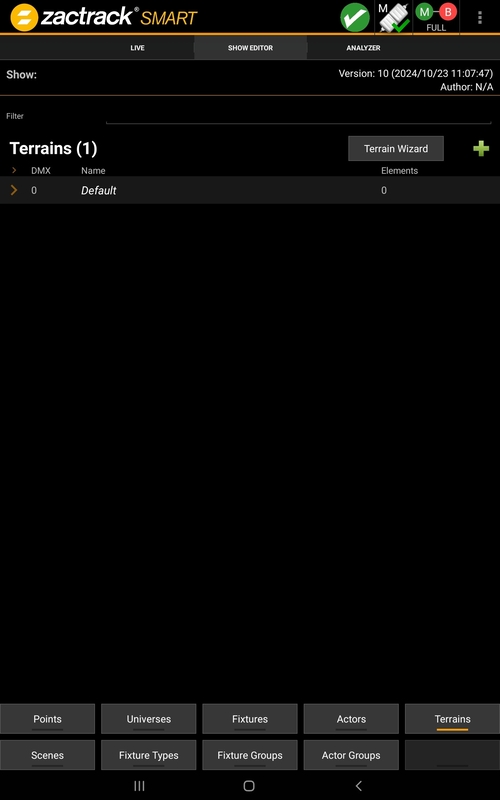
Terrains are created through the  in the top right corner of the Terrain window.
|
A Terrain is made up of multiple shapes. These shapes are created through the Terrain Wizard and can be modified either in the Show Editor or the Live View.
It is also possible to manually add Shapes. Long press on the new or Default Terrain.
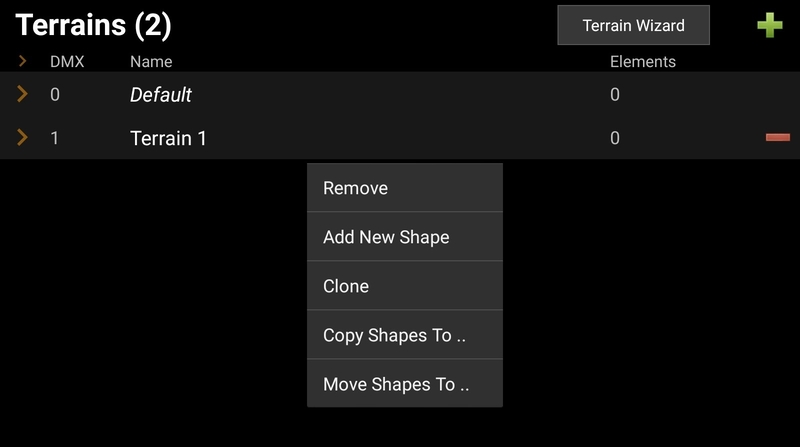 |
Option after the long press:
Remove
Remove the complete Terrain
Add New Shape
Create a new manual shape in the selected Terrain

It´s possible to give shapes their own name.
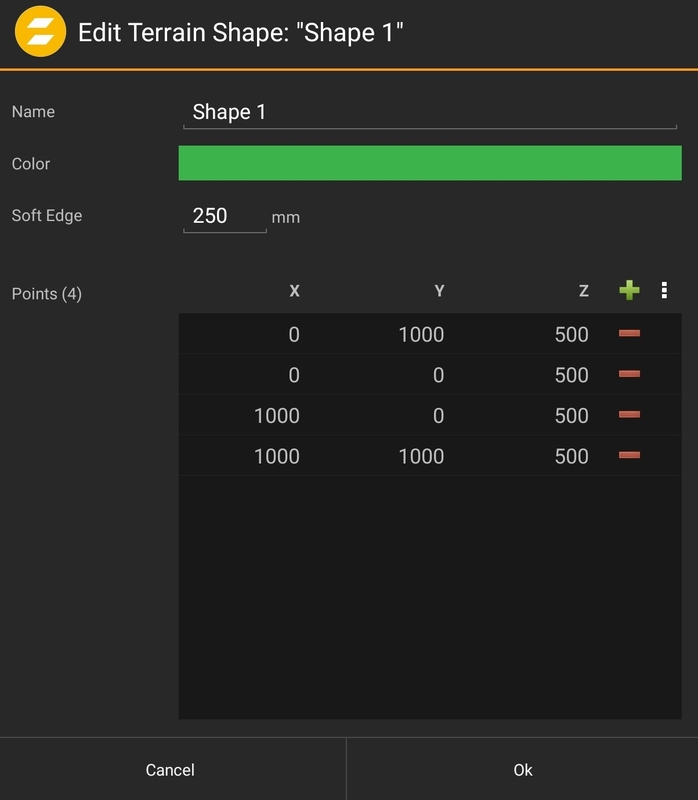
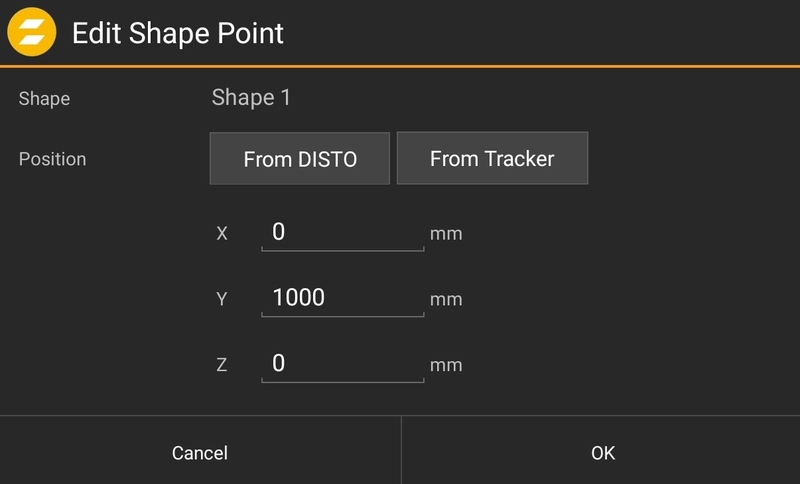
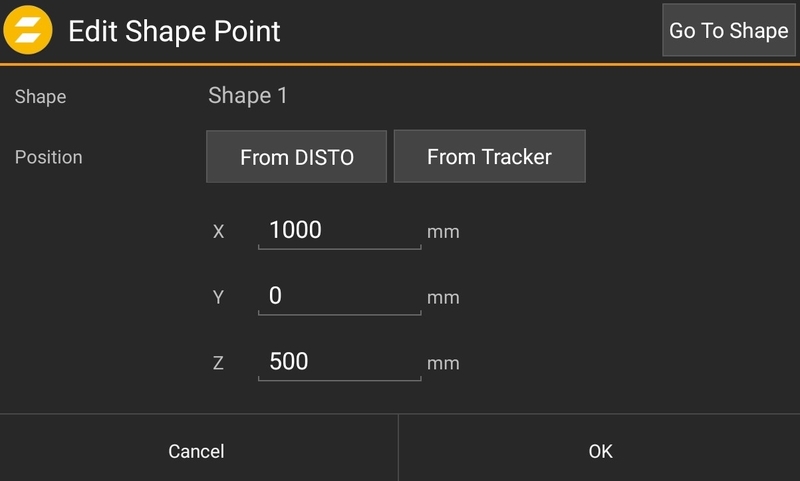
Create Shape Points manually, with a Tracker or a Disto. It is possible to change the color.
Clone
Copy the whole Terrain including shapes to a new Terrain
Copy Shapes To
It´s possible to copy shapes to a different Terrain.
Move Shapes To
It´s possible to move shapes to a different Terrain.
To modify a Terrain use the Terrain section in the Show Editor. Short pressing the Terrain opens the settings for the name, DMX value and merge strategy. Open the terrain with the small arrow on the left side to see the shapes. Long pressing a shape opens a small window with remove, copy and move options.
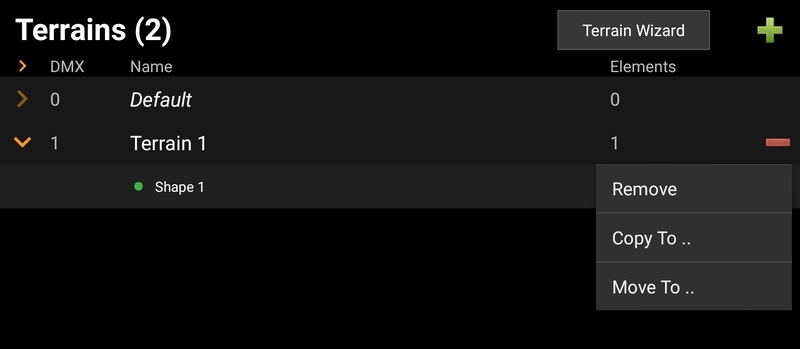 |
A short press on the shape opens the shape itself.
|
It possible to add, remove or modify points.
 |
Tip
It is also possible to edit a Terrain Point in the live view by a long press on the point.
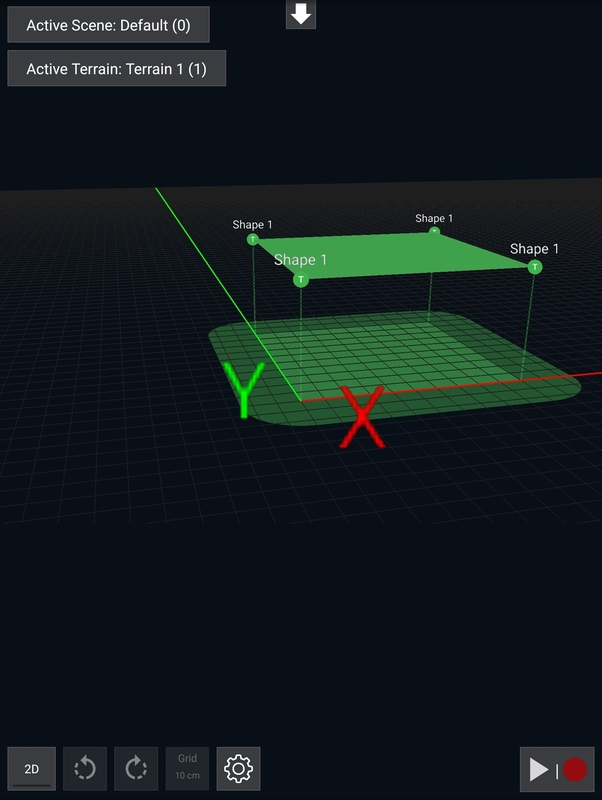
In the Live view it is possible to view the Terrain containing the different colored shapes.
Tip
Enable the visualization of the Terrain in the Live view settings.
 |
To see the your Terrain please be sure that the right Terrain is selected. Either manually or by console. See Show Settings for the console settings.
 |