Autofunction App
In the seperate Autofunction App, it is possible to create complex structures with various points. Autofunction zones define how certain fixture channel values (DIMMER, IRIS, FOCUS and/or ZOOM) are set based on the exact position of the actor that a specific fixture is assigned to.
Note
Autofunction zones do not have any affect if the fixture is not in Auto 6 or Auto 6M merge mode.
 |
A zone is a surface formed by multiple points, called autofunction points, each containing values for DIMMER, IRIS, FOCUS, and ZOOM channels at its exact position. Values between points are calculated using interpolation. If the tracked actor is outside the surface, the channel values of the closest point to the actor will be used.
A show can have multiple autofunction scenes, each with a set of autofunction points. In each scene, each fixture's autofunction zone is a subset of these points with unique channel values.
The autofunctions app simplifies the creation and editing of autofunction zones for scenes by providing a visual representation of the surfaces and easy-to-use editing tools. Refer to "Manage Scenes with the Autofunctions App" for guidance on scene management.
Tap the  symbol to enter the menu.
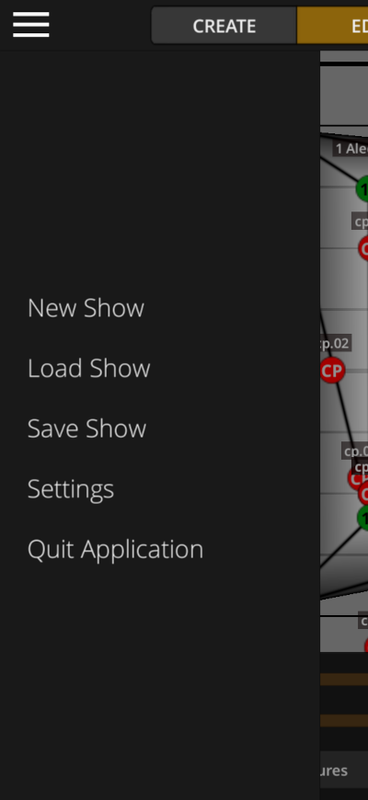 |
New Show
Create a new show.
Load Show
Load a show. See Import / Export for more information.
Save Show
Save Show with the same or a new name
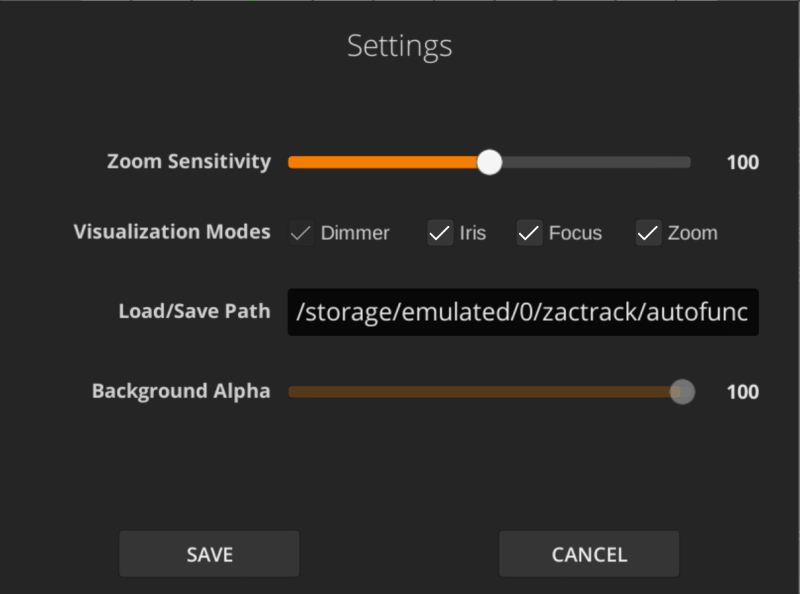
Settings
Various App settings
Quit Application
Close the application.
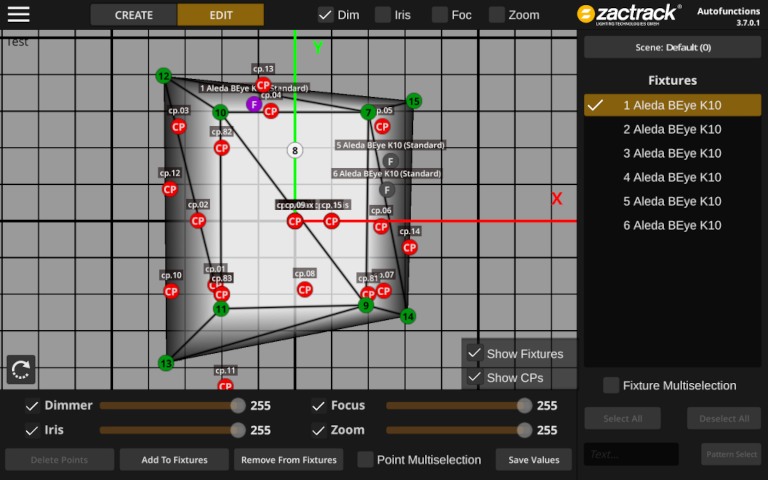
The current scene can be found at the top right side. A scene is set of Autofunction Points creating one or more shapes. This scene has a name and a DMX ID. It can be called from the console via OSC or DMX. See Show Settings for more information.
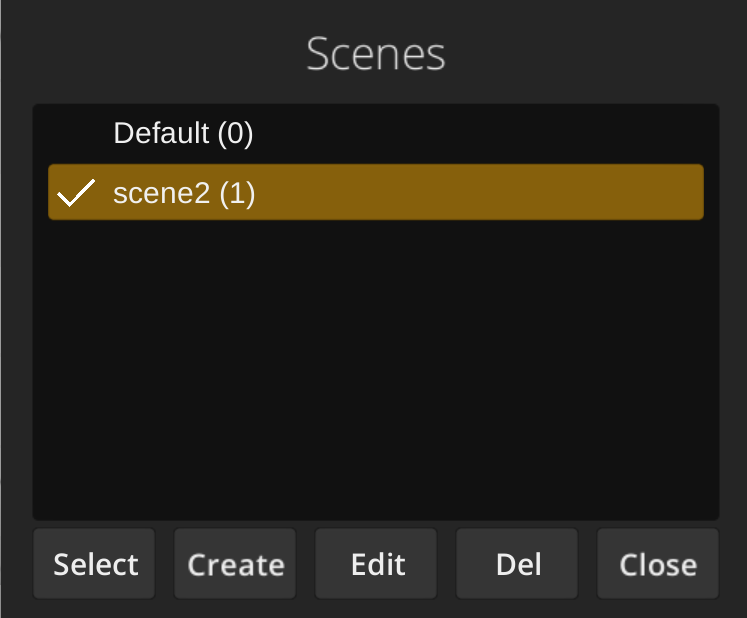 |
Tap the scene to create, edit, delete or select it.
 |
Create a scene, it is possible to copy another scene as your base.
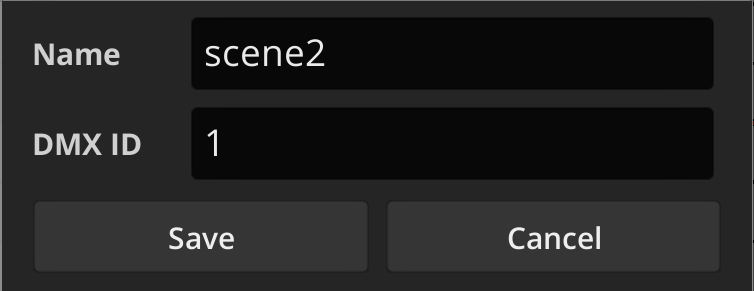 |
Edit a Scene.
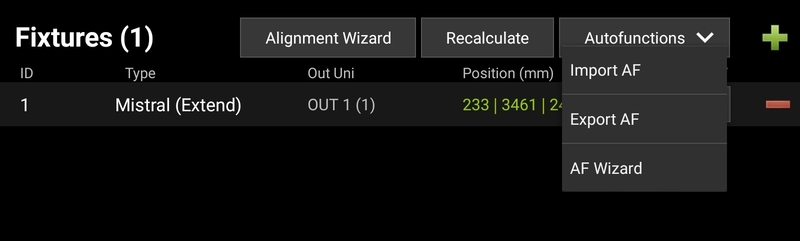
The right part of the screen contains a list with all the fixtures of the currently loaded show. Tap on a fixture to select it, which will highlight the corresponding icon in the viewport (if visible) and show the autofunction zones defined for that fixture.
Use the toggle Fixture Multiselection and the buttons Select All / Deselect All to (de)select multiple fixtures at once.
Pattern Select can be used to select all fixtures containing the text in the adjacent text field.
After selecting one (or multiple) fixtures with active autofunction zones, the displayed surface's color visualizes autofunction values for a specific channel at specific locations. You can change the currently visualized channel by using the Dim, Iris, Foc and Zoom toggles at the top of the screen.
Note
If you select multiple fixtures, the surface will only be displayed if all of the selected fixtures contain EXACTLY the same point subset with EXACTLY the same autofunction values. Otherwise, the application won't be able to determine which one of the different fixture zones you want to visualize.
Select CREATE in the top bar to enable creation mode.
Tap anywhere on the visualized grid to create an autofunctions point at that location.
Select EDIT in the top bar to enable edit mode. Selected points are highlighted in yellow.
Note
You can also select points in creation mode, but switching to edit mode makes accidental point creations due to imprecise tapping impossible.
Select a point by tapping on it or select multiple points by using the selection box (hold and drag). Selected points are highlighted in yellow. Tapping on any empty space will deselect all currently selected points. Toggling Point Multiselection in the bottom bar disables this automatic deselection and allows you to add points to your selection with several independent select operations.
Points have different colors based on the current point/fixture selection:
White: Point is not selected and is not in the subset of any selected fixture.
Green: Point is not selected, but is in the subset of ALL selected fixtures.
Blue: Point is not selected, but is in the subset of SOME (but not all) selected fixtures.
Yellow: Point is selected.
Move Autofunction Points
Select the points you want to move.
Use drag and drop gestures to uniformly move all selected points to a different location.
Delete Autofunction Points
Select the points you want to delete.
Tap on Delete Points in the bottom left corner.
Confirm with YES to delete all selected points.
Add Points to Fixtures
Select the fixtures you want to add the points to.
Select the points you want to add.
Tap on Add To Fixture at the bottom to add all selected points to the selected fixtures.
Remove Points from Fixture
Select the fixtures you want to remove the points from.
Select the points you want to remove.
Tap on Remove From Fixture at the bottom to remove all selected points from the selected fixtures.
Change Autofunction Values for Points
Select the fixtures whose autofunction values you want to change.
Select the points whose values you want to change.
Adjust the Dimmer, Focus, Iris and Zoom sliders to the desired values or disable a channel's autofunctions entirely for this position by toggling the corresponding checkbox.
Note
If you want to disable autofunctions for a fixture's specific channel entirely, it has to be disabled on ALL autofunction points. Otherwise, the value will still be set based on the surface point with the smallest euclidean distance to the actor position.
Tap Save Values to save the new autofunction values. The surface visualization will change accordingly.
Warning
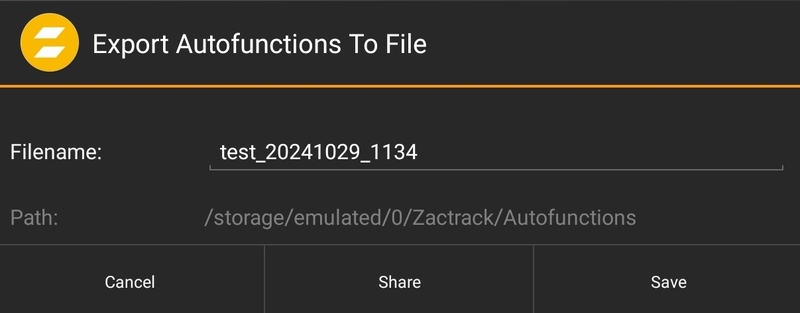
Don`t forget to store the file and import it in the zactrack App. See Import / Export for more information.
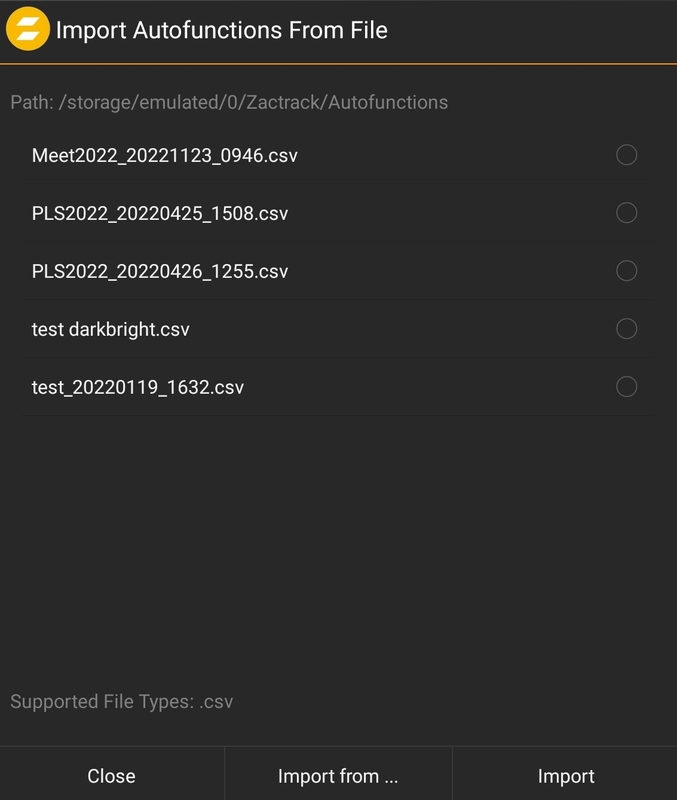
To get the Autofunction Information into the zactrack App there is an Import and Export functionality in the App.
 |
Note
Process: Export a AF File from the zactrack App with all patched fixtures - Load and create Autofunctions in the Autofunction App - store it - Import the AF file in the zactrack App. Upload the Show to the server.
Import AF
Import the modified File from the Autofunction App.
Export AF
Export the file, containing Fixture information, to modify in the Autofunction App.